Rhino Drawing Made Simple: Easy Step-by-Step Guide for Budding Artists to Capture a Rhinoceros
2023/11/15
Report
Title: Easy Drawing Lesson: How to Draw a Rhino
In this beginner-friendly drawing lesson, we will guide new artists on how to draw a rhino. Drawing a rhino may seem challenging, but with simple steps and basic shapes, anyone can create a beautiful rhino artwork. So grab your pencils and let's get started!
Step 1: Start by drawing a large oval for the rhino's body. Make sure the oval is slightly tilted to the side, as rhinos have a characteristic sloping back.
ADVERTISEMENT
Step 2: Draw a smaller oval on the left side of the first oval, which will serve as the rhino's head. Connect the two ovals with a slightly curved line.
Step 3: On the head oval, draw two small circles for the rhino's eyes. Leave a small gap between the circles to show the rhino's brow ridge. Add two curved lines beneath the eyes for the snout.
Step 4: Next, draw two small ears on top of the rhino's head. Each ear should be pointy and slightly curved.
ADVERTISEMENT
Step 5: Now it's time to add the rhino's horn. Draw a long, thin triangle on top of the head oval. Make sure it starts from the middle of the head and curves slightly upward.
Step 6: To illustrate the rhino's legs, draw two rectangles underneath the body oval. These rectangles will be slightly thicker on top and thinner towards the bottom, representing the rhino's muscular legs.
Step 7: Continuing with the legs, draw two smaller rectangles for the front legs on the bottom left side of the body oval.
The article is not finished. Click on the next page to continue.
ADVERTISEMENT
The article is not finished. Click on the next page to continue.
Next page
🕯️ Could She Have Been Saved? — The Real Story Behind Lady Sybil’s Death in Downton Abbey
2025/11/06

Why Dan Stevens Really Left Downton Abbey — The Hidden Anxiety Behind His Exit
2025/11/06

Caitriona Balfe Calls Out Cyberbullying: 'Enough Is Enough!' 💥
2025/11/06

Caitriona Balfe’s Family Secrets: Her Most Heartfelt Moments as a Mom 💖👶
2025/11/05

Bridgerton's Simone Ashley and Her Rumored Beau: What You Didn't Know About Their Relationship! 😍
2025/11/05

Bridgerton's Intimate Moments: How Actors Handle the Cringe-Worthy Realities of Filming Sex Scenes! 👀
2025/11/05

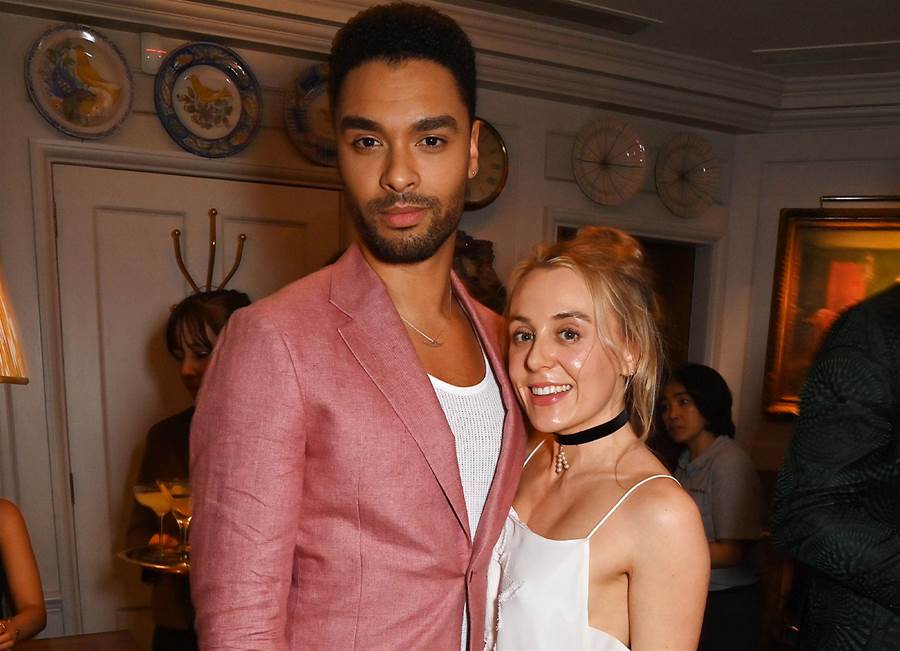
From Bridgerton to Real Life: Regé-Jean Page and His Girlfriend’s Romantic Moments You’ve Never Seen! 😍📸
2025/11/05
EXCLUSIVE: Sam Heughan Opens Up About His Sexual Harassment Experience in Hollywood 😢
2025/11/05

BREAKING: Sam Heughan’s New Announcement Has Fans Over the Moon! 🎉
2025/11/04

Bridgerton Season 4: Leaked Details Reveal Heart-Stopping Goodbyes and Epic New Beginnings🚨💔
2025/11/04

Regé-Jean Page’s Final Word on Bridgerton Return: ‘I’m Happy to Support the Cast!’ 💖💬
2025/11/04

Jonathan Bailey’s Hidden Romance: From a Former Love to a Mysterious ‘Lovely Man’ Who Stole His Heart ❤️
2025/11/04

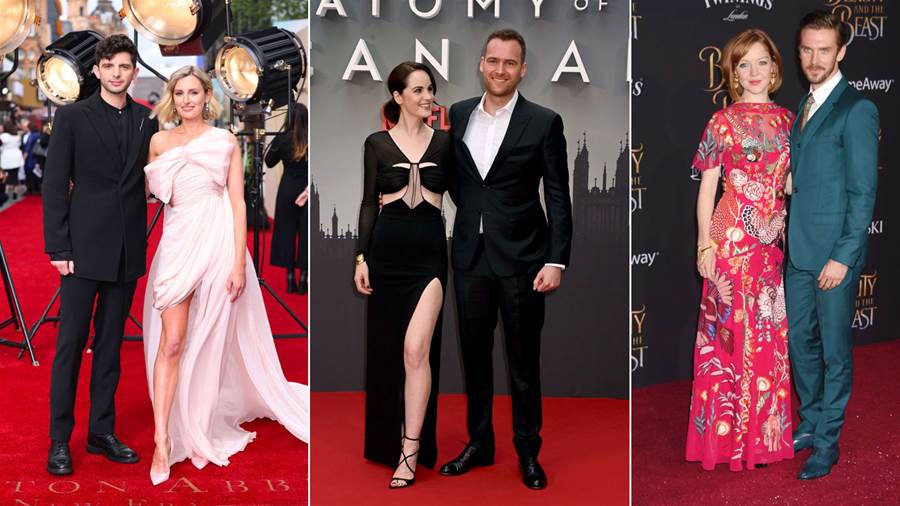
From On-Screen Chemistry to Real-Life Love: The Downton Abbey Couples Who Took It Off Set 👀💕
2025/11/04
Bridgerton's Hottest Star Breaks Silence on His Heartbreaking Split—The Unexpected Reason Why💔
2025/11/03

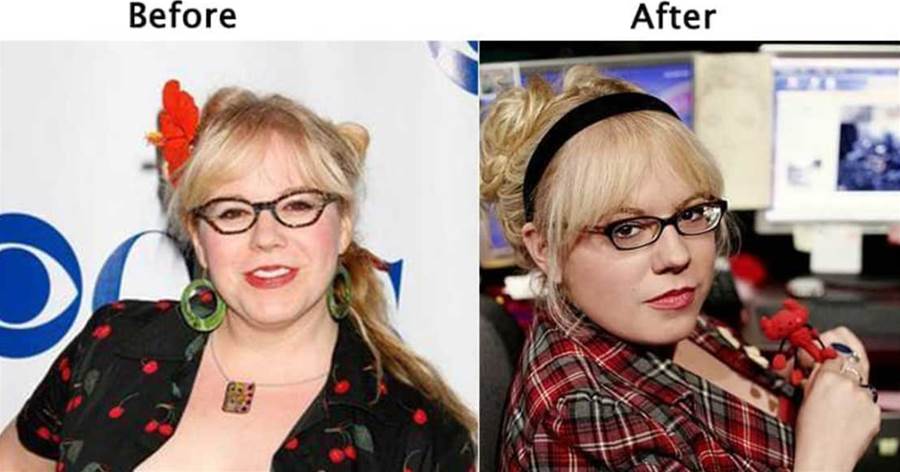
The Untold Story of Kirsten Vangsness: Her Battle with Health Challenges and the Courage to Keep Going 💪
2025/10/28
The Shocking Truth Behind Thomas Gibson’s Exit from Criminal Minds – What Really Went Down? 🔥
2025/10/28

Yellowstone’s Shocking Departures: The Real Reason Stars Are Walking Away
2025/10/27

Brandon Sklenar and His Secret Girlfriend Go Public—Fans Can't Get Enough! ❤️✨
2025/10/27

Kevin Costner's Divorce From Christine: The Secrets You Never Knew About Their Split!
2025/10/26

Devastating Loss: Cole Hauser’s Father, Hollywood Legend, Passes Away, Leaving a Void in the Industry 💔🙏
2025/10/26